|
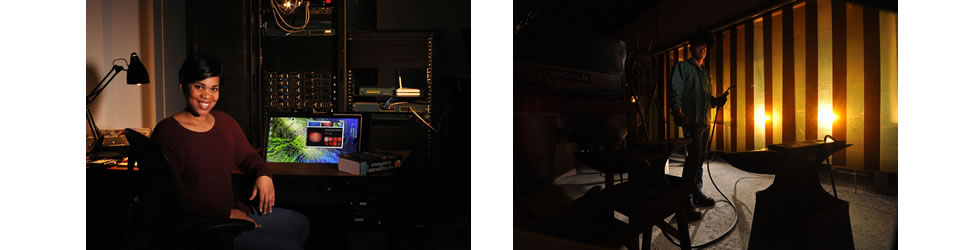
October 2015 I put on my photographer’s hat after a 20 year abstinence. I volunteered to shoot (read that as free) a series of photographs for my local community college (Washington County Community College). The purpose was to promote the courses offered. The images were to be enlarge to 2 ft x 3 ft prints for display along the hallways within the college. This assignment was particularly demanding. Unlike in advertising where there are budgets for building sets, this time round, I had to make do with what is on site. To say the environment is not very photogenic is being kind. The only solution is to use light in such a way that it highlights the subject while suppressing the distracting surroundings. This is easier said than done. To be able to do this, one needs to be a master of lighting. It is even more difficult when artificial lights like flash (strobes) are used. Unlike tungsten lights, flash lights are instantaneous. Phoff… and it’s gone. I will start off with photography of Automotive Engineering. This is one of their most popular courses. The image below is the automotive workshop where the shoot took place. It looked like any other motor workshop. Nothing outstanding visually. Lighting Setup
Test Shot
Final photograph of Automotive Engineering
By the time I finished shooting, the above photograph is the result. This was the image I was working towards. I used the same lighting setup but the image looks completely different. This is what I meant when I said mastery of lights. How did I do it. Lighting TechniqueThe image is not a straight forward shot with flash lights. That was the Test Shot. To light the image this way, I first had to have more the workshop in the background. I wanted to see some cars lifted in the air. Instead of using flash, I opted for available light. I switched over to iso 400 on my Nikon D90. Then I set the camera shutter to about 1/15 sec. That combination of fast film and slow shutter speeds was just right to record the background. I wouldn’t have been able to make it look so natural had I used flash lights. After that came lighting the student. My key light, a Balcar Monoblock on the left, was fitted with an octagon umbrella with grids to direct the beam to the student. Without the grid, it would have lit up the entire area. For the car engine, I used another monolight on the right. This flash light had a fine honeycomb grid attached to the reflector. The center of the beam was directed on the engine. The edge of the beam lit up the side of the student. I used this light feathering as a fill. That’s how I sculpted the student with a 3D effect. The power of the two flashes were carefully adjusted so that the student blended in with the background. The last trick was to leave the flashlights modeling lamps permanently on. Don’t forget, my shutter speed was 1/15 sec. After the flashes were fired, there was still a good 1/15th of a second to record the lights from the modeling lamps. This created the tanned skin tone in the student and added a warmth to the overall scene. Once this lighting was finalized, then it was only a matter of shooting. I positioned the student such that the college initials, WCCC, was visible. That was a bit of hard sell there but clients love this kind of things. No Photoshop was used. Old school. |
October 25, 2019Photography

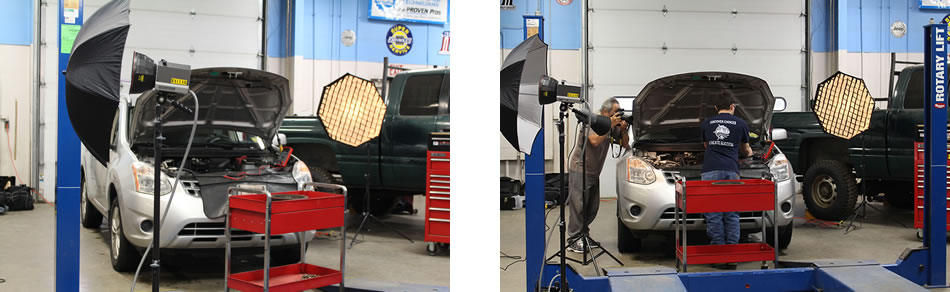 These two images show the position of the flash lights. Only two are used. The main light, the one with the umbrella fitted, is to the right of the car. The flash for the engine is the small gray unit that is seen in the right image.
 The image above is the initial lighting test shot. It is just to give me an indication how my flashes are lighting up the scene. From this image, I can see there are plenty of room for improvements. For one, the student is over-lit and doesn’t look very flattering. The second issue is the background is too dark. Thirdly, the car engine doesn’t stand out.
 Image Rights – Michael Chua